One of the questions you may ask yourself is “where do I place the Voice Tracker Array Microphone to optimize performance?” Let us help you with the following tips.
How Best To Use The Voice Tracker Array Microphone In Different Rooms
With these tips learn how to best use the Voice Tracker array microphone in different rooms.
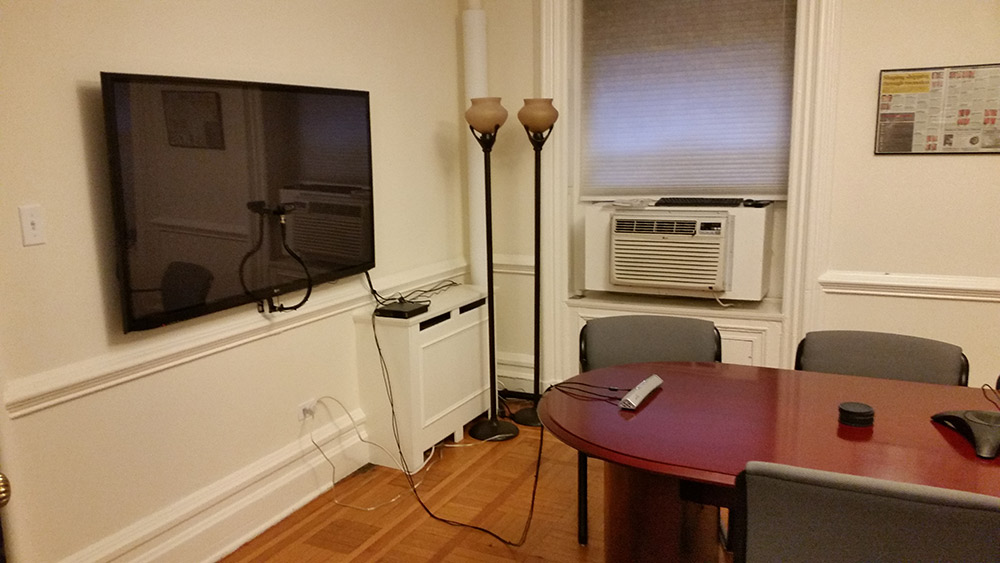
Conference Room
Although the Voice Tracker picks up through an impressive 360° field of view, it is more sensitive from the front. Therefore, when placing the Voice Tracker on a conference table, we recommend situating it towards the front of the conference table pointing towards the far end.
Classroom Lecture Recording
For classroom recording, it is often placed on the podium in the front of the room, facing the rear of the room. This position helps to best pick up both the professor’s and the student’s voices.
Ceilings
 Often, users want to place the Voice Tracker on the ceiling to remove clutter from the conference table or to reduce the possibility that the microphone will “walk off”.
If the Voice Tracker is placed on the ceiling, the same positioning rules apply- place it near the front of the room pointing towards the rear. Note that if you place it on the ceiling you will have a longer audio cable to run to the PC or other microphone input device. The Voice Tracker I has an unbalanced analog output through a 3.5 mm Jack, so 3.5 mm audio extension cables work fine.
The Voice Tracker™ II has both USB audio output and analog audio output. Since there are restrictions on the length of USB cables, and USB extension cables often do not work well, we recommend using the analog audio output for long runs. If you are using the AEC feature in the Voice Tracker™ II, you’ll need two 3.5 mm audio extension cables, one for the audio out of the Voice Tracker and one for the reference signal in. You also need to provide power to both the Voice Tracker I and the Voice Tracker™ II, using a wall power supply.
The Voice Tracker I has a built-in ceiling mount. There is a weight in its base to give it heft. The weight can be unscrewed (making the Voice Tracker I very light). Removing the weight reveals 4 screw holes so the Voice Tracker can be attached (upside down) to the ceiling. The microphone array itself can be swiveled to point slightly downward.
The Voice Tracker™ II also has a weight in the base that can be removed. It comes with a ceiling mounting plate that is connected to the screw hole that holds the weight.
Note that the Voice Tracker array microphone has background noise correction algorithms to filter out stationary noise from fans, air conditioner docs etc. If the microphone is placed too close to such a noise source, the algorithm can create some distortion in the audio output (voices sound like they are underwater); so be sure to locate the Voice Tracker away from such noise sources. The long pickup range of the microphone should make such placement possible.
Large Rooms
If the room is large, or reverberant, you may want to combine the output of 2 or more Voice Trackers. This can be done easily combining the analog outputs through a simple 3.5 mm Y or a mixer. If the room is wider than it is long, place both Voice Tracker’s toward the front of the room, pointing towards the rear. If it’s longer than its wide, place one (or more) in the front and one (or more) in the back.
Experience The Difference In Acoustic Magic Voice Tracker Array Microphones
Whichever type of room you are using your array microphone in, you can be confident in knowing that Acoustic Magic Voice Tracker Array Microphones will give you the best clarity, noise reduction and functionality. Learn more about our innovative.
Questions? Call Us Now!